


Creating a Google+ business page doesn’t require that you hold professional certification in social media. In fact, Google has made creating a business account a fairly simple process. Here’s a primer on setting up a Google+ page for your business.
Step 1: Navigate to the web address.

Step 2: Choose a category.
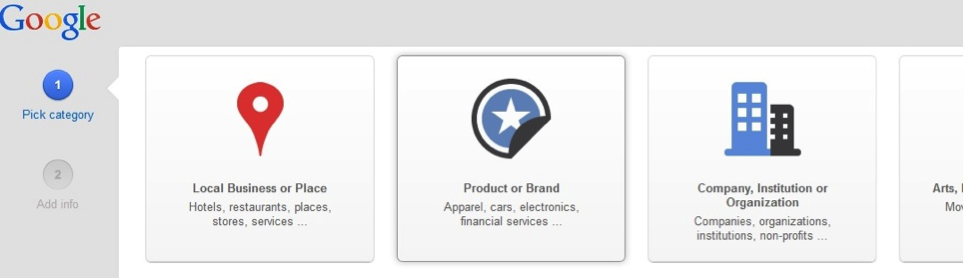
Google offers multiple categories to best suit your needs. Choose the category that fits your business, and then you’ll be asked for some more information, which differs with each category.
Step 3: Fill in the necessary information.
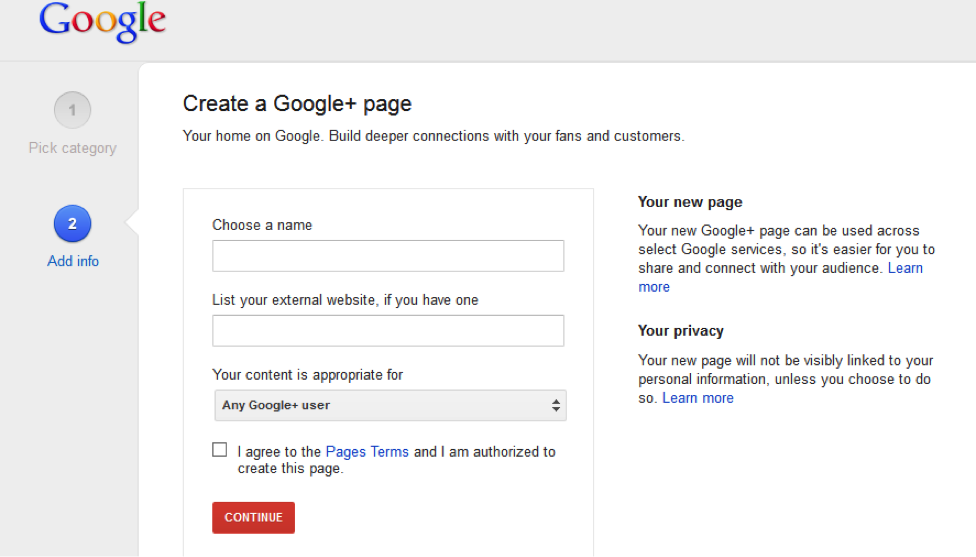
You’ll be asked to include information like your business’ name (this will appear across your Google+ account, so be sure it’s spelled correctly) and your website URL.
Step 4: Customize your profile.
On the dashboard view, you’ll see several tabs across the top, like “overview,” “notifications,” “managers,” and “settings.” Click on “overview” to access the following: 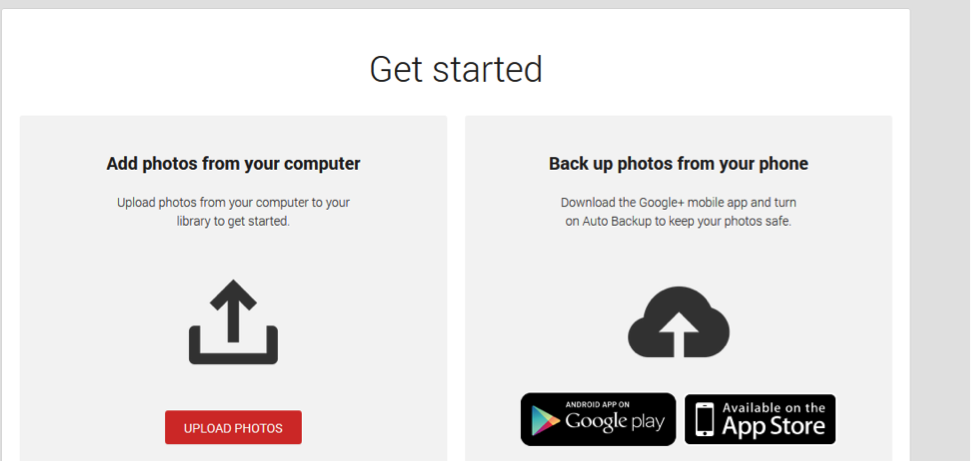
Add a cover and profile photo if you have a graphic that represents your brand or business.
Hover over the “Homepage” tab at the top, left-hand side of the page, and choose “Profile” to navigate to the page where you can find tabs for filling in the following information.
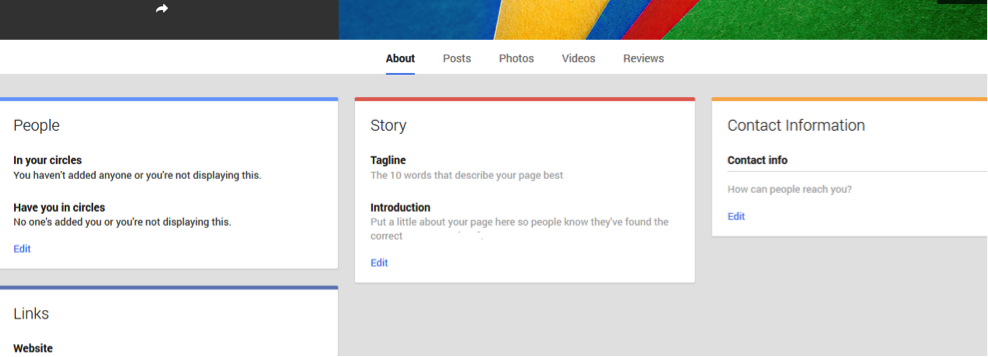
Add your business’ story, either by inserting your tag line and/or a sentence that tells users what you’re about.
Finally, include vital contact information, or ways that users can get in touch with your business.
Step 5: Join in.
Under the “People” tab, click “Edit.”
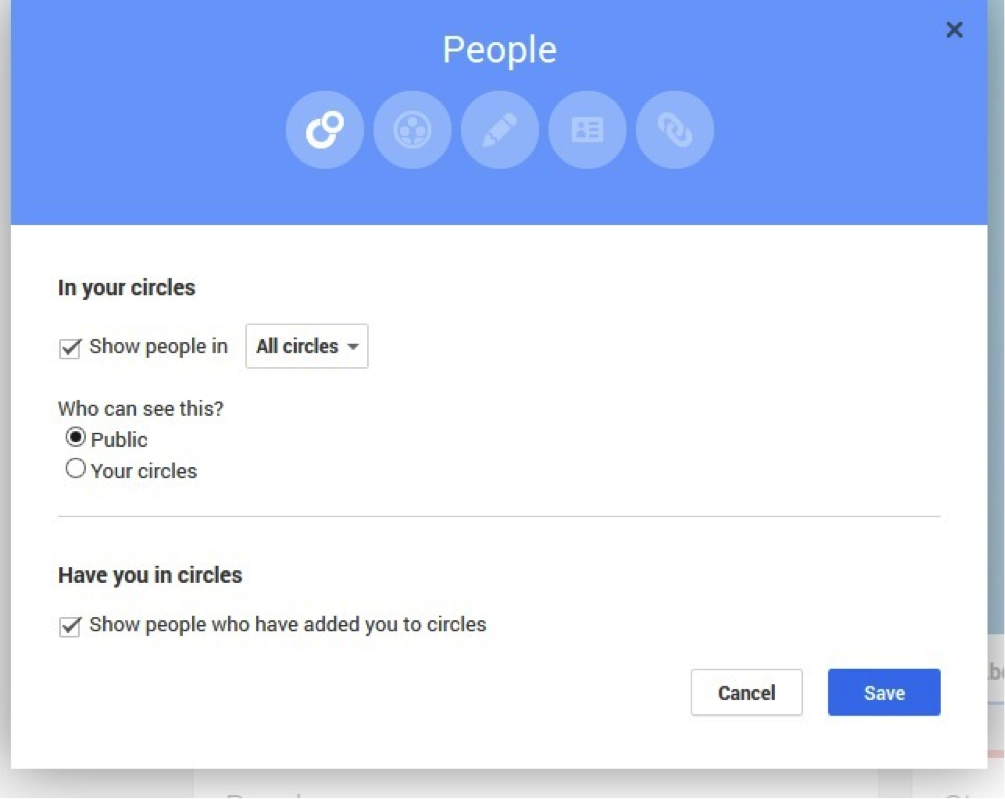
One of the last steps that will fill out your business’ Google+ page—don’t worry, as you go along, you can fill in more details and fine-tune the page—is the people, or circles, for your page. You can choose to make the page public, or only viewable by your circle of friends. Additionally, the system lets you categorize your circles, as either customers, loyal customers, potential customers, etc.
Step 6: Start promoting your page.

From the “Dashboard” view, start creating infographics, text or visual posts to share, and get your name out there.
Voila! You’re ready to compete in the digital age with a Google+ business page.